If you don't know about Figments and Filaments and you enjoy costuming of any kind - check out this convention next year. Year One is fantastic.
http://figmentsandfilaments.com/
Airship Noir members have done several panels so far. Here's the info for the Maker Panel Bob Spangler and I did Saturday, and the Steampunk Hats, Guns, & Goggles panel we will be doing Sunday:
Figments and Filaments
Convention
April
25-27th, 2014
Maker
Panel: Hands On- Simple Metal Etching (plus
a bit more)
The Plan:
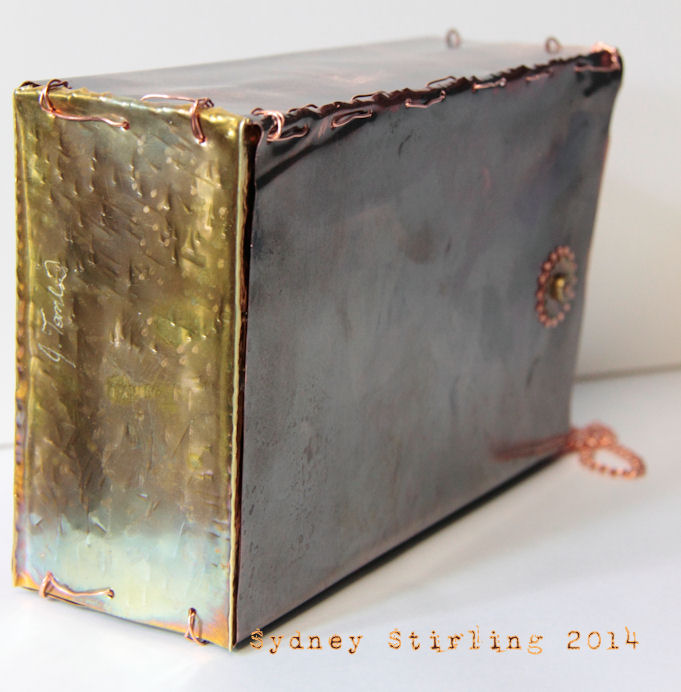
Hammering - hammer out pennies
on striker plates and anvils.
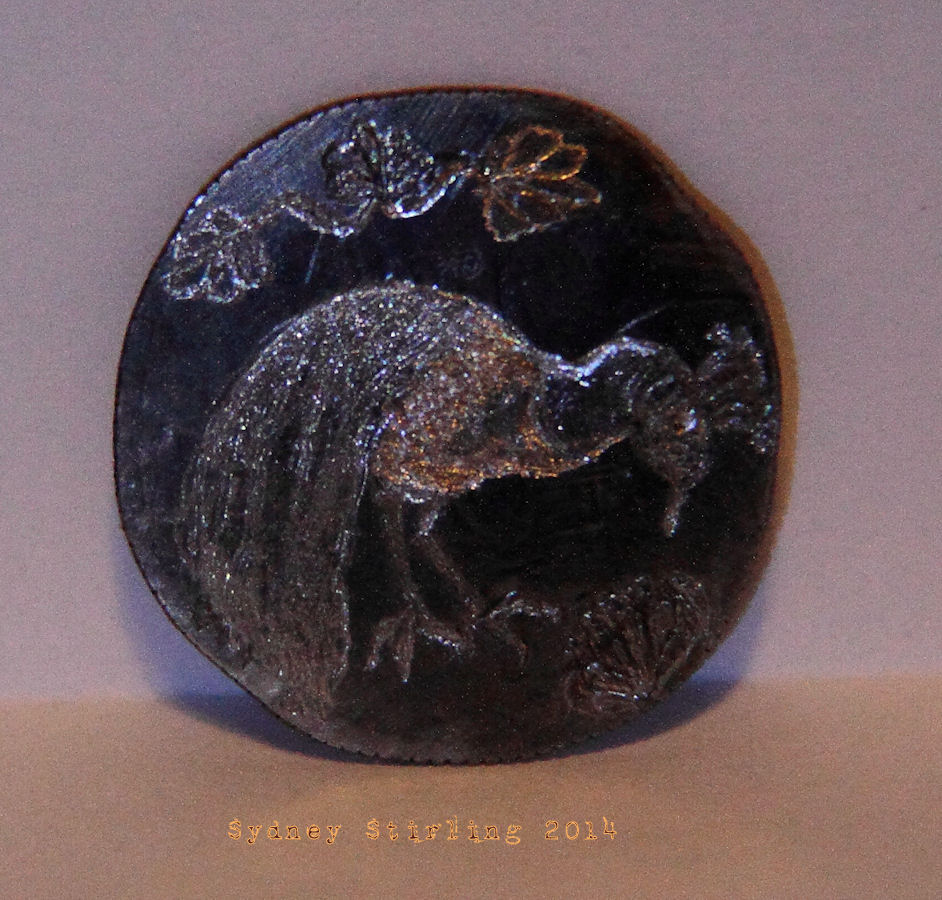
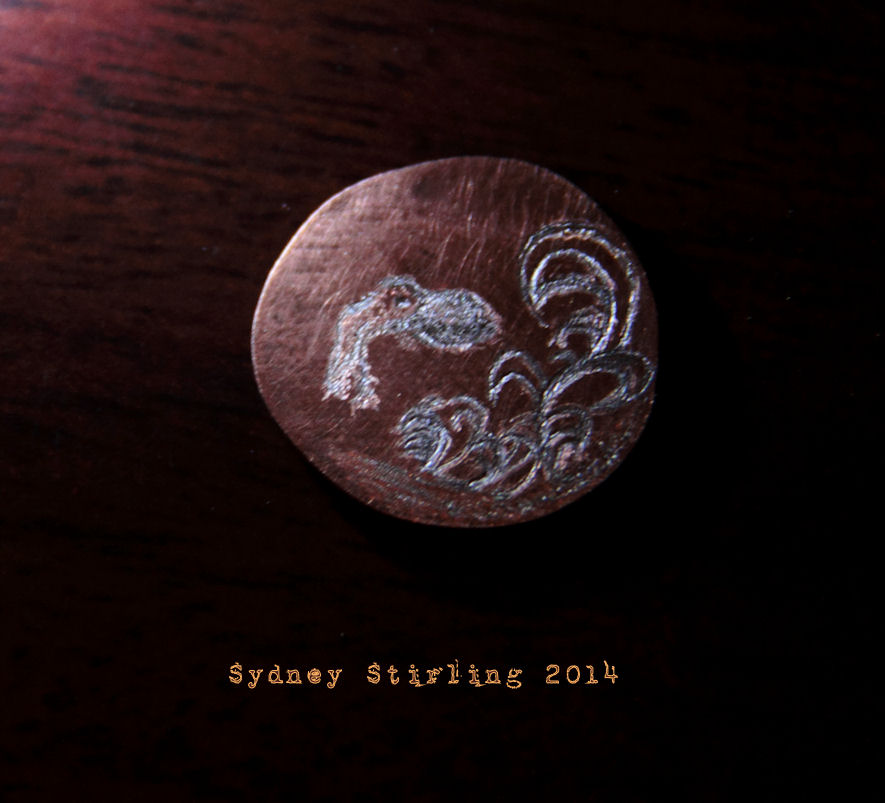
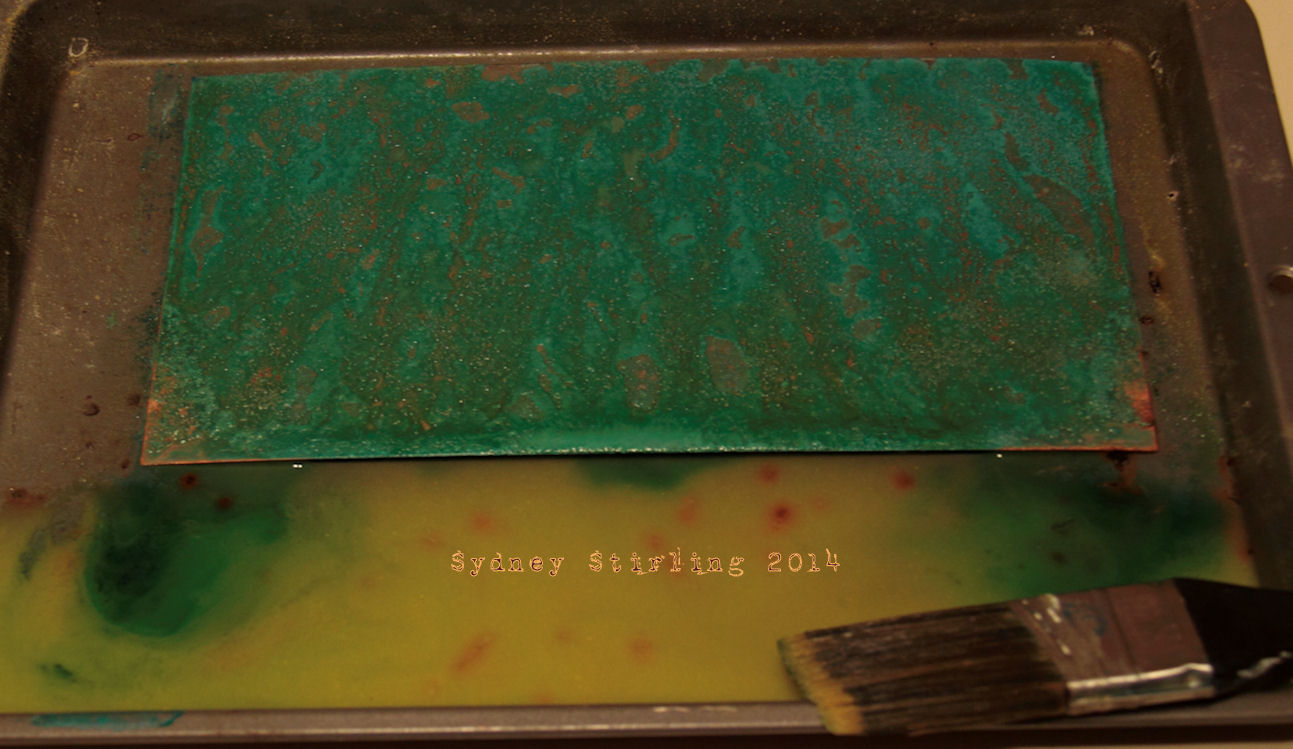
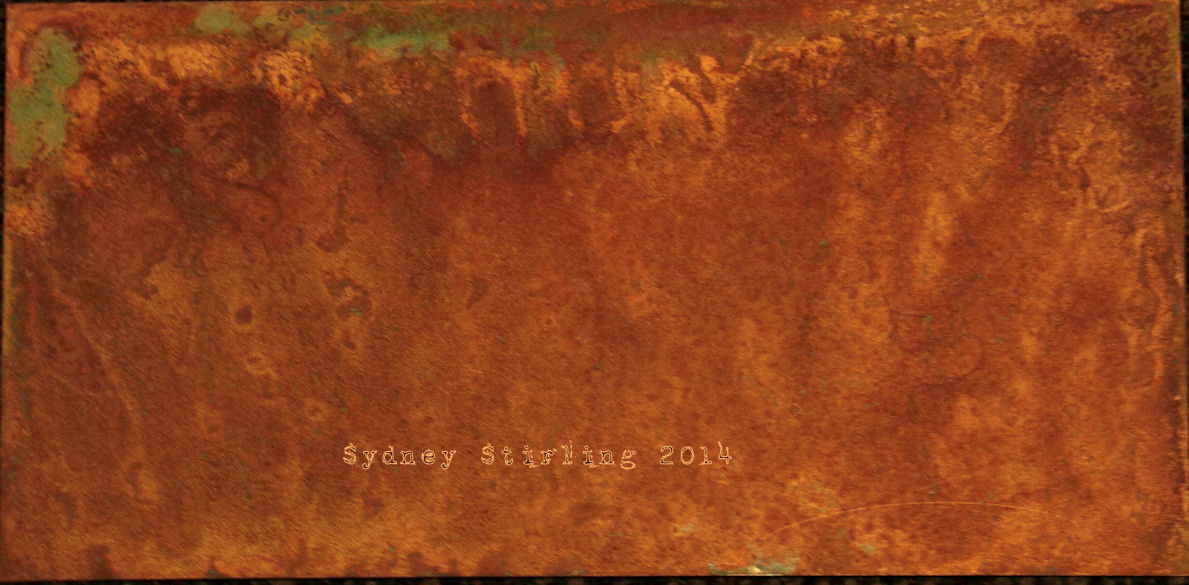
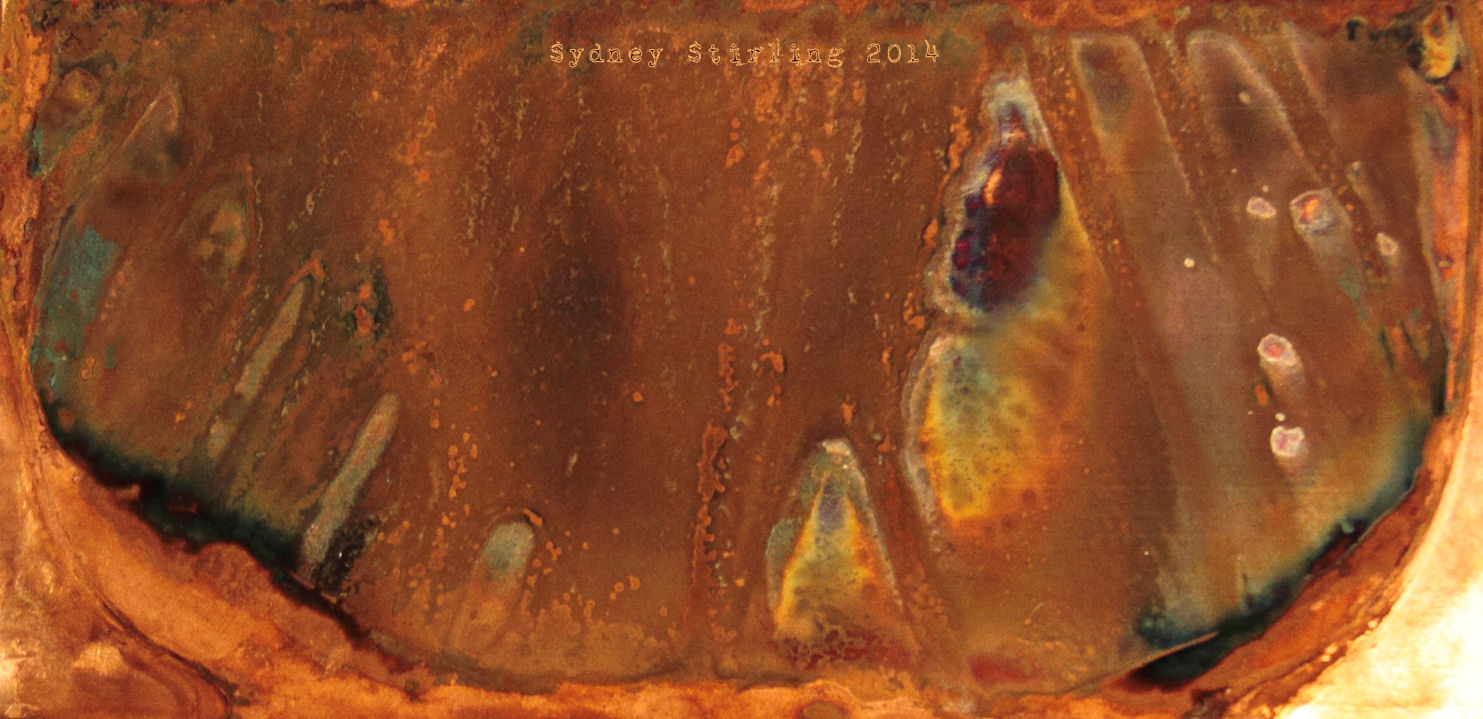
Metal Etching - Physical
etching - Sharpie a design and etch with etching tool. Going
Punch holes - Hole punch &
Disk punch with hammer.
Creating a curve/half circle - Dappling
block and hammer (optional step)
Riveting - with rivets and brads using ball
peen hammer and/or riveting tool
Here’s a list of some of the tools we are using
day:
Anvil with striker
plates -striker plates/bench blocks can be bought separate
Hammers -try to buy
the correct hammer for the job you have in mind
Disk Cutters
Metal Hole Punch
(keep in mind what gauge metal you want to punch though)
Rivet Setter
Side Cutter
Flush Cutter
Metal Etching Tool
Dappling Block with
Doming Punches
Engraver (cordless,
diamond tip)
Rivets
Brads
Some resource ideas:
Tandy Leather
(www.tandyleatherfactory.com)
Fire Mountain Gems
(www.firemountaingems.com)
Rio
Grande
(riogrande.com)
Instructables
(http://www.instructables.com)
Maker Faire/
Makezine (makezine.com)
Facebook pages to
look up and maybe join:
Airship Noir
KC Steampunk
Great
Plains Steampunk
Figments and Filaments
Convention
April
25-27th, 2014
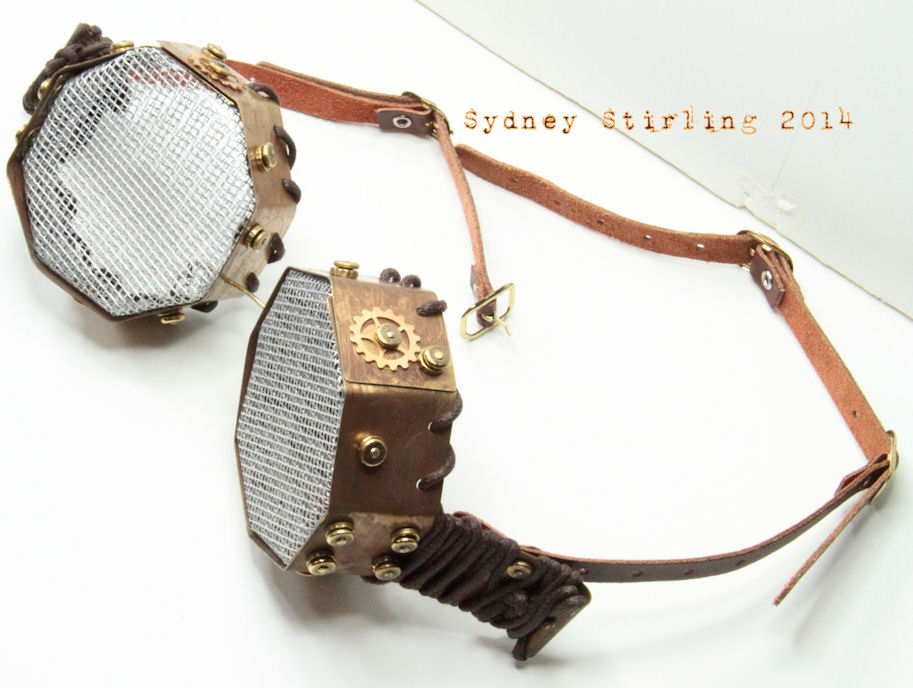
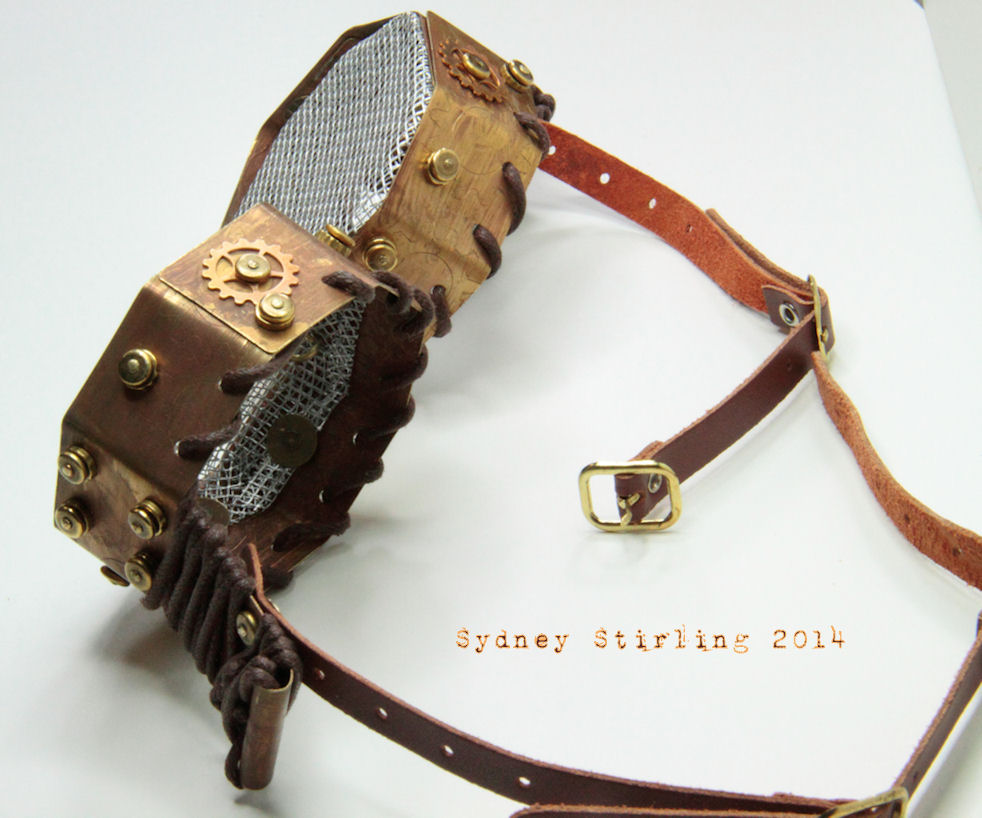
Basic
Steampunk Making: Goggles, Modified Nerf Guns, and Hats
The Plan:
Show off a range of
goggles you can make or modify –
get some ideas for your own style.
Suggestions on how to wear goggles comfortably all through a convention
weekend.
Walking you through
the steps for taking apart a Nerf gun.
How to prime, paint, and bling your Nerf to become a Steampunk weapon
prop. Examples will be attaching scopes
and gauges.
Equipment for mod:
Sandpapger
Black or rust
colored primer for plastic
Acrylic paint
Rub’n Buff
Your imagination
Going through some
modifications for hats. Showing off a range of styles and additions. Tip: weather-stripping is something you can
buy by the yard at the hardware store for cheap. Cut of a bit and stick it inside the brim of
your hat for easy re-sizing.